
All-new painting area!
Here it is! This is my new painting area, ready for building, converting and painting. Pretty cool! I’ve finally got racks for my paints, a work light stolen from my computer desk and space for all my plastic drawers.
Click through for more pictures of how it (finally!) got to this stage 😛
Here’s the step-by-step:
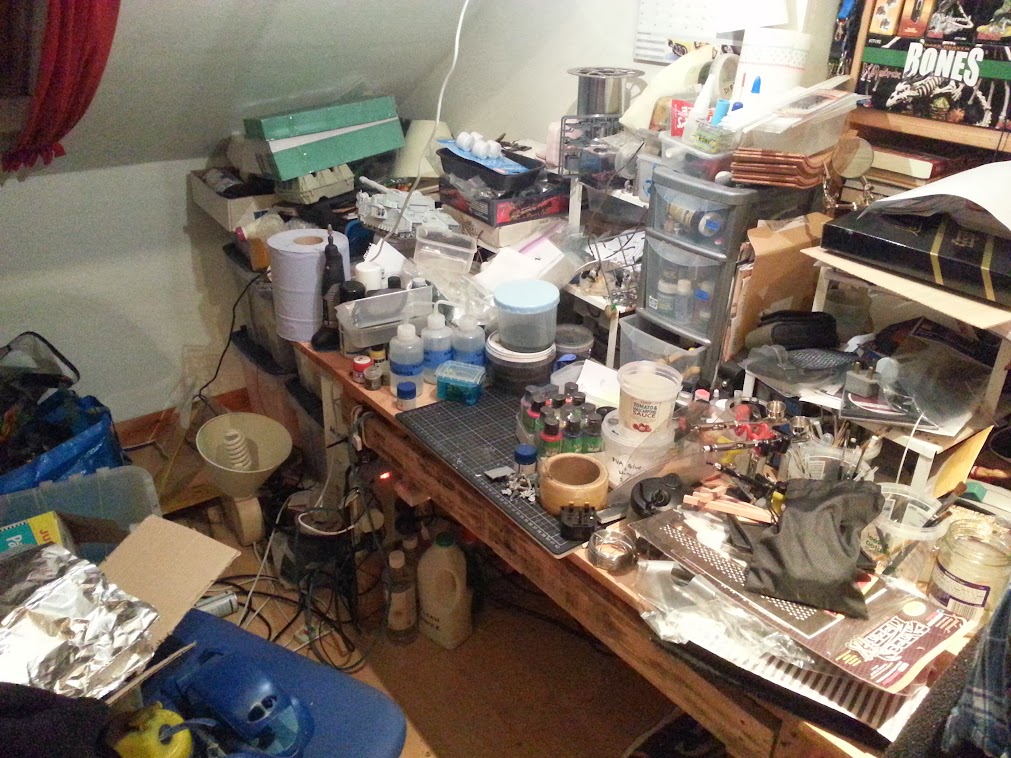
Here’s what I had before, the black cutting mat was basically all I had for space to stretch out. The table is a small pallet with legs (from another pallet) bolted to the sides, then two large squares about 70cm on a side made from thick MDF laid across it. So it was about 150cm wide x 70cm deep, but with the IKEA dish racks at the back the space was rapidly cut down, then projects building up on either side quickly eliminated the ‘elbow room’ I had.

This is the chair (with some ongoing projects tossed on top of it because I had already moved one of my tables out of the area), with scratchbuild terrain stuff and RC paint on the floor. The storage thing there is full of mostly homebrewing stuff, but it has some of my resin casting stuff too, and the plastic drawers are full of more modelmaking stuff: newspapers, cereal box card, airbrush stuff and a drawer full of RC stuff.

This is the area where the new painting stuff would be put – the table in the corner was taken from the area shown previously and would be the airbrushing table with my new extractor hood. Part of the reason for moving to this area was the roof window is hinged on one side only, so getting the extractor hose out the window didn’t mean getting rained on and letting out tons of heat.
The empty area is meant for the large desk I’d be getting from a workmate and one of our group’s 40K/Blood Bowl players (hi Dave W!). I laid down some plastic-coated fabric drop cloth from a DIY store to catch paint spills.

After laying down some carpet offcut, here’s the desk mostly assembled and in place.

And many of the boxes moved out of the way (the CDs are on my computer desk) and the new painting desk in place. The area where the binders are is where I’d do all of my RC car building work.

Of course, I completely changed my mind once I saw the layout and decided to swap my computer desk and painting desk. I figured the L-shaped desk would be better as my painting area, because I could keep the spray hood and extractor hose in place pretty much permanently.
The computer desk is an old IKEA Effektiv desk with just legs on it, which meant it was very wobbly because it’s supposed to have a metal frame under it (see the picture 2 pictures above this one). So I had to find some brackets, drill them to some very sturdy wood, drill out the bottom of the desk for some plastic plugs and attach this huge wooden I-beam to the bottom of the L-shaped desk.

The small table (also made from a pallet) will now be exclusively for RC stuff, to help me keep projects from spilling over (yeah, right!).

The future model assembly area

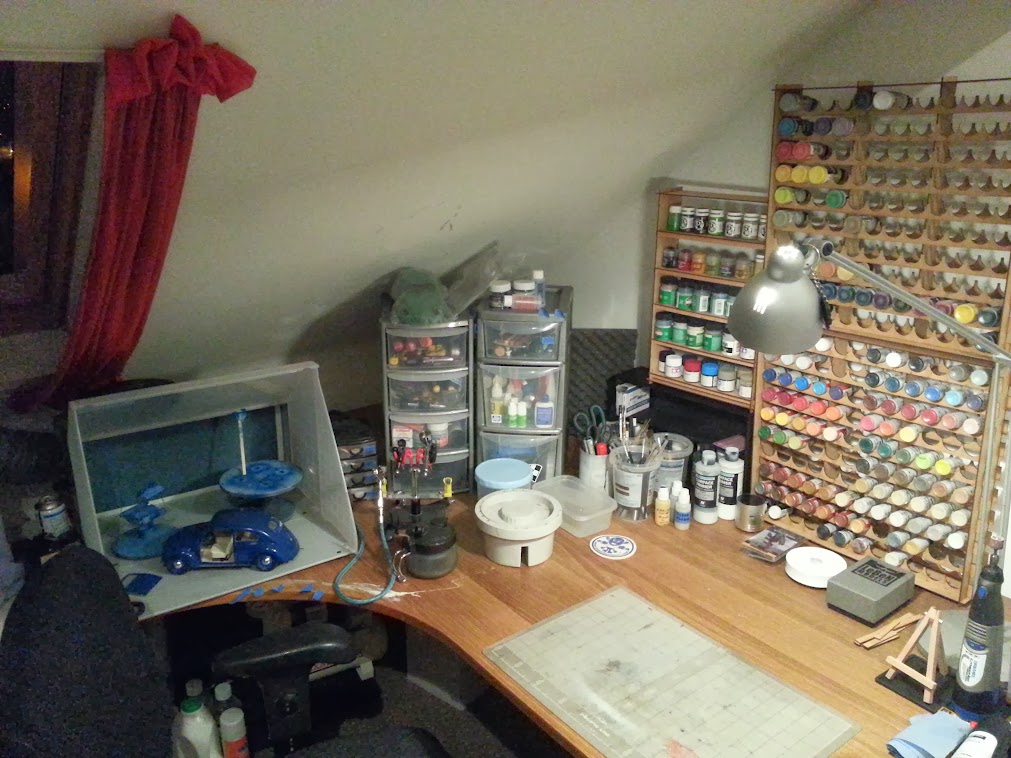
And the paint spraying area!

Here’s the computer desk as it looks now

My air compressor would live under the desk, out of the way

And here’s the model area with most of my stuff set up
Once I got the paint racks made (look for a video on these soon), I just had to get ALL my model paints set up.

The paint racks are now hung up (I’m going to have to swap the cord I used for paracord) and the left rack has a complete set of Badger Minitaire paints. The spraying area can be compressed if needed, I’m still working on tidying it up
The full setup has a small flatscreen and DVD player but mostly I watch/listen to TV shows on Netflix using my phone 🙂
More pictures soon! I’ve got a little ways to go and of course I have lots of projects still to finish up (and many more unstarted!)
Pingback: Brand new painting area | Hammertime 40K